I have 4 nephews and 2 nieces, all of whom I adore! I haven't gotten to see Ryder or Maddex (my oldest sister Holly's boys) in a couple of years because they moved to Colorado, but they are adorable! I used to see Micah (my brother Josh's son and the oldest nephew) and Colton (my sister Jen's son) fairly often, as they lived in Texas when I did. I can't believe how big they are both getting! Jen had her daughter, Riley, only about 4 months before I got married and moved away, so I've only gotten to see her a handful of times, but she is such a sweetie and looks like her mama.
Then, there's Paisley. She is my youngest sister Hannah's daughter. She was born a few months before Riley, while I was living at home after college, but before the wedding. I saw her every day for 8 months, baby sat her constantly, fed her, bathed her, changed her diapers, got up with her at night sometimes, and helped as much as I could. Hannah had extra difficulties as a young, single mom, but she has done a great job so far! Paisley was also my first niece, so it's been fun buying girly pink stuff for her.
Her first birthday was August 1st, so of course I had to get her something great! It was especially important that I get her something good since I wouldn't be there to celebrate with them. My mom posted a one-year-old baby girl outfit she saw and thought about ordering one from Etsy. No, no. I could do better.
So off to Hobby Lobby I went!
 |
| I bought everything for only about $25! Her nursery decor, baby shower theme, baby scrapbook, etc. are all pink, green and paisley. So this part was fairly easy. |
 |
| I ironed on the green letters, and cut out two "1" shaped pieces of fabric, one bigger than the other in two different colored fabrics. I used the zig-zag stitch on my sewing machine to first stitch the two "1"s together, then to stitch them to the onesie. That was by far the most difficult part of the project, and I would recommend buying an iron-on "1" from a craft store, unless you're very comfortable with a sewing machine. |
 |
| The skirt, however, requires very little sewing. Cut the elastic to the proper measurement of the child's waist, making sure it's not too tight or too loose. Stitch the overlapping ends of the elastic. |
 |
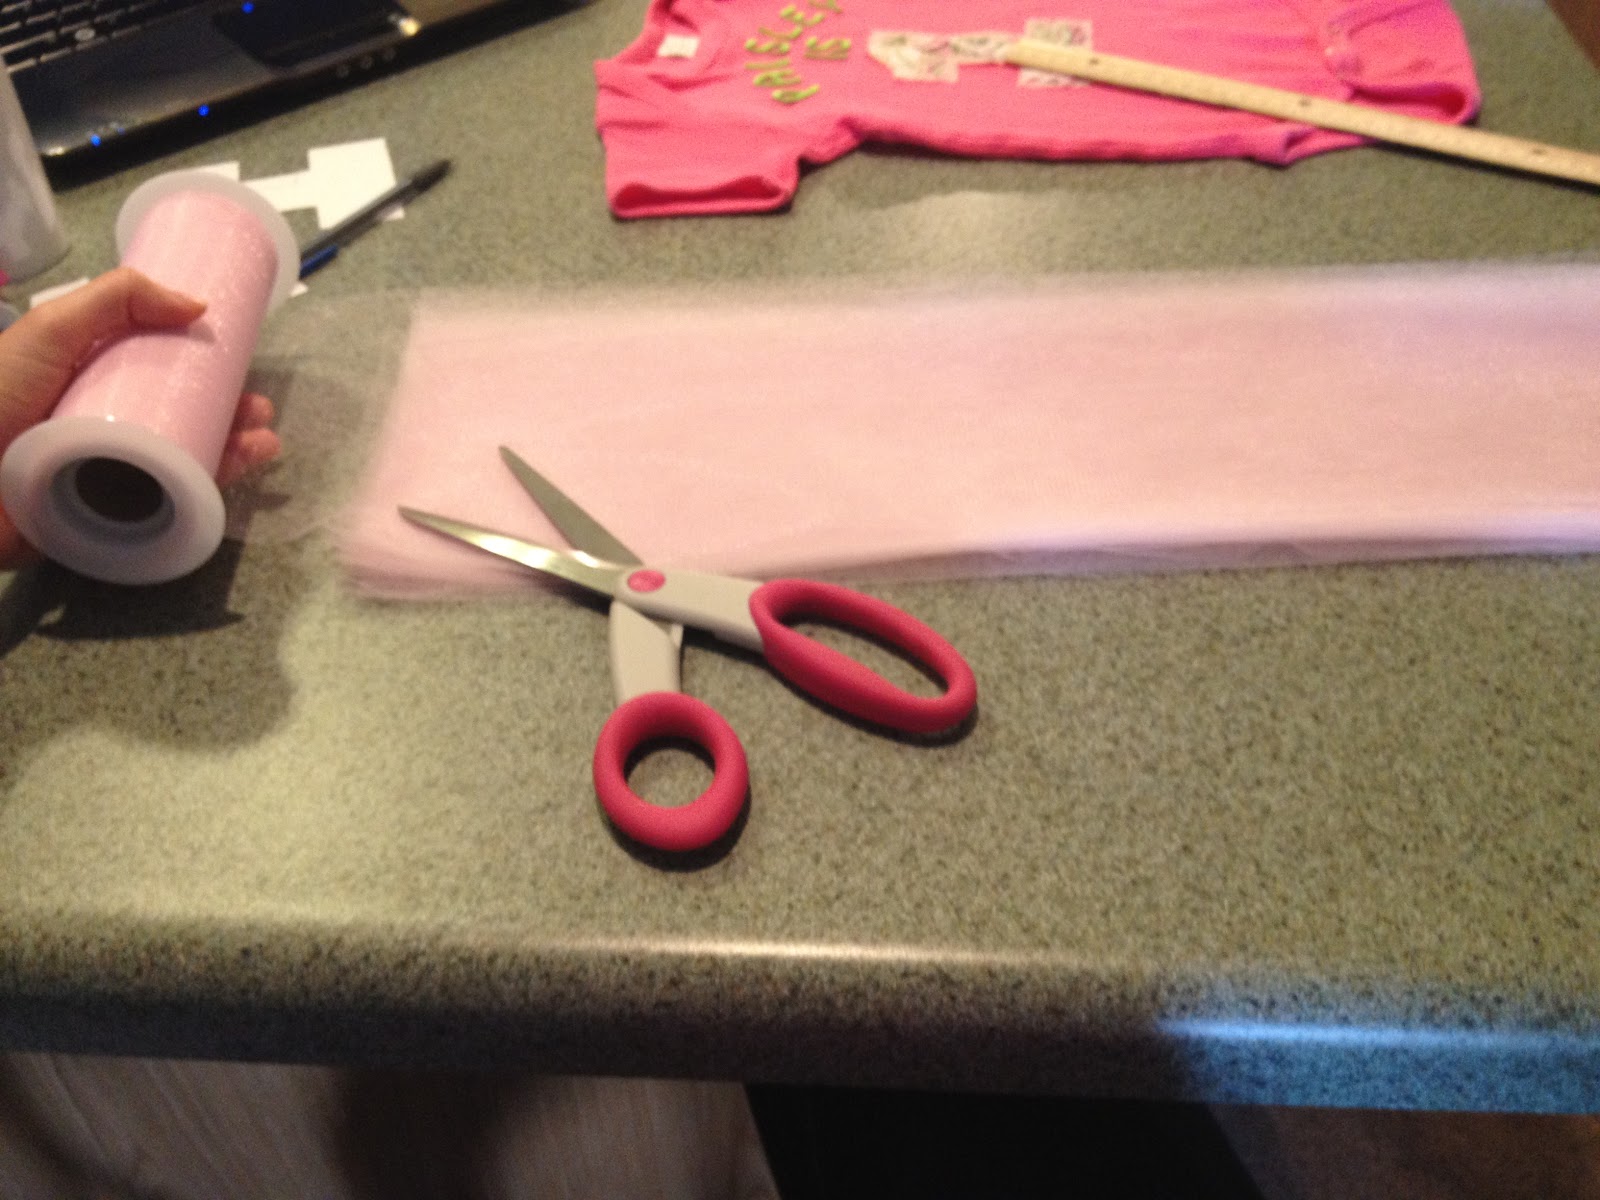
| Measure the length of tulle you'd like to use for the tutu and cut all of the tulle to that length. I would recommend separating the colors as you cut them. |
 |
| Place the elastic loop around your knees and pull it tight so that your hands are free. Tie each strip of tulle around the elastic, pulling horizontally. |
 |
| Tie a double knot, pulling the tulle vertical. You can arrange the colors in a pattern or randomly. |
 |
| It should look like this with all of the tulle tied on. |
 |
| I tied a bow out of more ribbon and hot glued it to the skirt. You could also stitch it if you're worried about your little one yanking it off. |
|
|
 |
| For the bow, cut strip of fabric, fairly thick. |
 |
| Fold it in half and stitch it down the middle using a long stitch and don't lock the ends. |
 |
| Pull one of the threads so that it gathers the fabric. Work gently so that you don't snap the thread. |
 |
| I did this with both colored fabrics. |
 |
| Hot glue the fabric strips together in a spiral. I added some pink ribbon to the sides like little leaves, and I hot glued a rhinestone in the middle. Every birthday princess needs a little sparkle! |
 |
| I also hot glued a clip to the back of the flower bow so that it would clip onto a headband. |
 |
| Here it is all finished! | |
|
|
 |
| It made it to Texas, and she and her mommy loved it! Isn't she precious?! | |
|
 |
| Aaaand there she goes! |

She also wore it to her very first birthday party! This was a fairly quick project for me, and I LOVED making it. Give it a try yourself, or you can order one from me! Drop me an email if you're interested. I can't wait to make more for the other sweet little girls in my life!!!


Paisley is precious! And excellent job on the outfit!! Little girl tutus are my favorite :)
ReplyDeleteOMG this is too adorable! Love your blog! It is very similar to my own!! Now following!
ReplyDeletehttp://fromragstotags.blogspot.com/
Wow this turned out so great! What a great gift and DIY - you are really talented!!! Where in the Midwest did you move to? I'm from WI and now live in MN - I love the midwest :)
ReplyDeleteXO
www.pearlsandpaws.blogspot.com